We’ll split this up into sections based on the machine you’re running things on. Let’s start with your MacOS device:
MacOS device
- Install Xquarts:
brew install --cask xquartz
- Restart your device. Kinda annoying I know, but it’s necessary.
- Once you’ve booted back up, open XQuarts.
- In the top menubar, select XQuarts -> Settings.
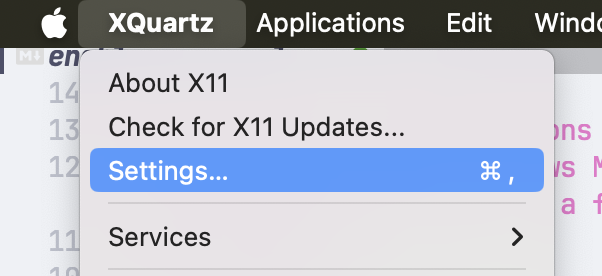
- Select the security tab and check Allow connections from network clients.
- Restart XQuartz.
- Grab the IP address of your VM. Replace
hackboxwith whatever you called your VM:
multipass list | grep hackbox | awk '{print $3}'
192.168.64.8
You can also just run multipass list to view all your VM details:
multipass list
Name                    State             IPv4             Image
hackbox                 Running           192.168.64.8     Ubuntu 24.04 LTS
- Allow connections to the X server:
xhost +192.168.64.8
- Get your device’s IP address on the network:
ifconfig en0 | grep inet | awk '$1=="inet" {print $2}'
192.168.228.115
Make a note of this IP address; we’re gonna use it in a few seconds.
Virtual machine
Now we’re gonna move into the VM running in Multipass:
- Update the package list and install
x11-apps:
sudo apt update
sudo apt install -y x11-apps
- Set the
DISPLAYvariable to point to your MacOS device’s X server, appending:0to the end of the IP address:
export DISPLAY=192.168.228.115:0
- Try and run
xclock:
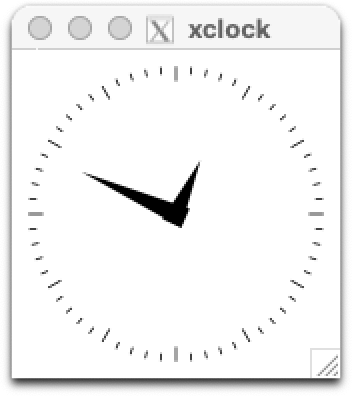
- That’s it!
For future session
- On your Mac:
# Start XQuartz:
open -a XQuartz

# Get the IP of your VM running in Multipass:
VMIPADDRESS=(multipass list | grep hackbox | awk '{print $3}')

# Allow connections
xhost +$VMIPADDRESS

# Get your Mac's current IP (it might change after every restart):
ifconfig en0 | grep inet | awk '$1=="inet" {print $2}'
- In your VM:
export DISPLAY=<YOUR_MAC_IP>:0